Yale lock not working after battery change: here is the short answer, then every step in detail.
How we researched this: This guide is based on official manufacturer manuals and support documentation, rewritten in plain English and organized by symptom. Where noted, we also share our own hands-on experience. Steps can differ by model and firmware, so check your model number first.
As an Amazon Associate, TechVibeSpot earns from qualifying purchases.
If your Yale smart lock stops working right after you change the batteries, the most common culprits are a reversed polarity or a battery cover that isn’t closed properly. The lock needs four AA cells that are fresh and installed the right way for power to flow.
First, take the cover off and look at the battery case. Make sure each cell is oriented so the positive and negative ends match the markings. Fresh alkaline AA batteries are the best choice; old or partially discharged cells often cause dimming or no response.
After the cells are in, press the battery cover down until it clicks into place. A loose cover can pull the ribbon contacts away from the terminals, cutting power even though the batteries are good.
Once you’ve verified the batteries are fresh, correctly oriented, and the cover is fully seated, you can move on to the next troubleshooting steps if the lock still won’t respond.
Yale Lock Not Working After Battery Change? Quick‑fix summary
Start by checking the four AA batteries. Make sure they are fresh alkaline cells and that each one is placed with the correct polarity. Wrong polarity or a dead cell will stop power from reaching the lock.
Next, look at the battery cover. It must be fully seated so the ribbon contacts stay engaged. If the cover is only partly closed, the contacts can lose connection and the lock will appear dead.
Give the keypad a quick test. Press each number key in turn. If none of the keys produce any response, the lock is likely not receiving power. This step helps you decide whether the problem is electrical or something else.
If the gear key on the keypad is flashing amber, the lock is in firmware‑update mode. Leave the batteries in place and wait about five minutes. The lock will finish updating and then reboot on its own.
When the door is locked and you cannot get the lock to work, use the mechanical key that came with the unit. Insert the key, turn it to open the door, and then replace all four batteries. Removing the old cells and installing fresh ones often restores normal operation.
Quick‑fix steps
- Remove the battery cover and verify that all four AA batteries are fresh and oriented correctly. Re‑insert them if needed.
- Close the battery cover completely, making sure the ribbon contacts stay in place.
- Press every keypad button. If the lock does not react, power is likely missing; go back to step 1.
- If the gear key flashes amber, keep the batteries installed and wait roughly five minutes for the firmware update to finish.
- If the door remains locked, locate the mechanical key, turn it to open the door, and then replace the batteries following steps 1 and 2.
These actions address the most common reasons a Yale smart lock stops responding after a battery change. If the lock still does not work after completing the list, the internal harness may be loose or other issues could be present, and contacting Yale support is the next best step.
Symptoms you may see
If the door is open but the lock does nothing when you touch the keypad, the unit is essentially dead. Press the Yale logo to wake the keypad; if none of the number keys respond, the lock is not receiving power or communication.
A dim LED on the lock face or a low‑battery warning means the cells are weak. The lock will still try to work, but the light will stay faint and the deadbolt may not move. Replace all four AA alkaline batteries with fresh ones and check the polarity.
When the gear key blinks amber, the lock is busy installing new firmware. Keep the batteries in place and wait about five minutes. Do not remove the cover or the batteries until the amber flashing stops and the lock restarts.
If the lock sounds a chime after you enter a code but the bolt stays locked, something is blocking the latch. Look for objects in the door‑frame gap or a second lock that might be holding the deadbolt. Also verify the internal wire harness is firmly attached.
Auto‑lock not engaging is another common sign. After you close the door, the lock should turn the deadbolt automatically. If it does not, open the Yale Access app and confirm the Auto‑Lock feature is turned on in the lock settings.
Some users notice the lock is silent after a battery swap. This usually means Silent Mode is active. Go into the app’s lock settings and enable sound to hear the usual chimes.
Each of these clues points to a specific area to check: power delivery, firmware activity, mechanical obstructions, or app configuration. By matching the symptom to the right step, you can often restore full operation without needing a service call.
Battery installation checklist
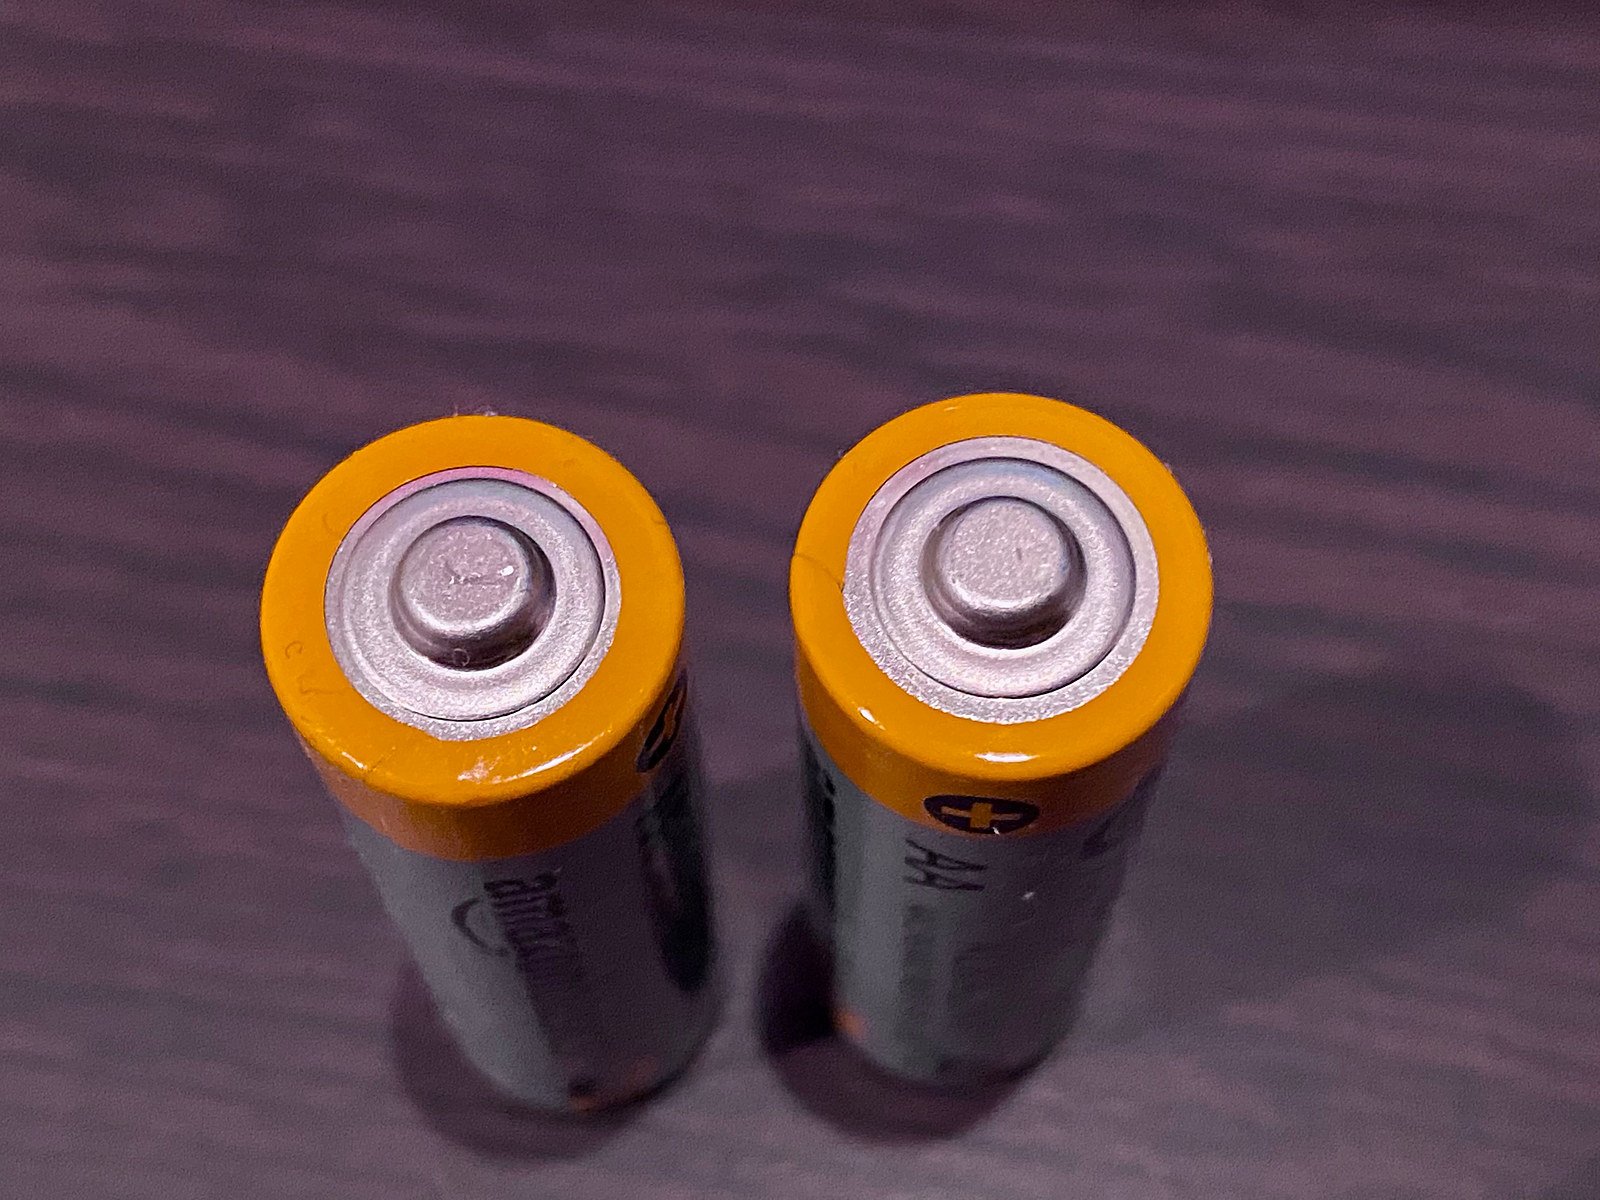
Swapping the AA cells in a Yale smart lock is simple, but a few details can keep the lock from waking up. Follow this short checklist before you finish the job.
- Use four fresh alkaline AA batteries. Install all four at the same time and make sure each one follows the proper polarity. A single weak cell can cause dim lights or no response.
- Seat the battery cable and ribbon contacts. Press the connector until it clicks into place and verify that nothing is pinched or loose. A disconnected cable cuts power to the lock.
- Close the battery cover firmly. A cover that is not fully latched will interrupt the power feed, leaving the lock unresponsive.
- Swap out any low‑power cells. If the lock shows dim illumination after the change, replace the batteries with new alkaline ones. Old or partially discharged cells often cause this symptom.
- Power‑on check. After the cover is sealed, look for the normal LED behavior. The lock should light up without dimming, indicating the batteries are delivering sufficient power.
If the lock still seems dead after these steps, double‑check that the ribbon contacts are fully engaged and that the cover is snug. A tiny gap can be enough to stop the lock from receiving power.
When the lock powers up correctly, you can move on to any further troubleshooting, such as verifying the keypad or re‑handing the lock if needed.
Inspect harness and mechanical key
If the lock is stuck in the locked position, the first thing to do is pull out the mechanical key and turn it to open the door. Once the door is open you can remove the battery cover, take out the old cells and insert four fresh AA batteries, making sure the polarity matches the markings. Fresh power often clears the lock’s “no response” condition.
After the batteries are in place, look inside the lock’s cavity for the wire harness that runs from the keypad to the circuit board. Gently tug each connector; it should sit snugly without any pinching or visible gaps. A loose harness cuts power to the lock, so re‑seat any loose plugs until they click firmly into place.
With power restored, the deadbolt may still sit out of alignment. The lock often needs a (re)handing after a battery swap. Follow the hand‑adjustment prompts in the Yale app: enter the Master Entry Code, then use the gear key sequence (3 → gear, 5 → gear) and confirm with the gear or check key. This routine re‑aligns the bolt with the strike plate so the lock can engage and release smoothly.
Even a well‑handed lock can fail to open if something blocks the latch. When the lock chimes for a code but the door stays shut, inspect the gap between the door and the frame. Look for pieces of wood, paint splatter, or a secondary latch that might be catching the deadbolt. Remove any obstruction before testing the code again.
- Use the mechanical key to open a locked door.
- Replace all four AA batteries, confirming correct polarity and fresh charge.
- Check that the internal wire harness is fully connected and not pinched.
- Run the hand‑adjustment sequence in the Yale app to re‑hand the lock.
- Examine the door‑frame gap for foreign objects that could block the latch.
- Test the keypad by entering a code; the lock should now respond normally.
If the lock still does not react after these steps, the harness may be damaged or the internal components could be faulty. At that point, contact Yale support for warranty service or further diagnosis.
Reset and re‑setup procedures
If the keypad becomes silent while you can still control the lock through Matter, the lock is out of sync. The quickest fix is to run a factory reset that follows the Matter reset instructions, then add the lock back to your Matter network.
A full factory reset can also be done from the Yale Access app. Open the app, locate the lock’s settings, and choose the reset option. The app will guide you through the required steps, which clear all stored codes and settings and return the lock to its original state.
After any reset, the lock’s activity log will stop updating until it reconnects. To restore the log, use Bluetooth from the app. Keep the lock screen displayed for about five seconds, then use the thumbturn to lock and unlock the door manually. Those two actions force the lock to sync its recent activity back to the app.
Battery changes or a reset can also unset the lock’s internal clock. An incorrect clock can affect scheduled features, so it’s a good idea to verify the time after power‑loss events. The same Bluetooth sync step, stay on the lock screen for five seconds and then lock/unlock, will also refresh the clock to match the app’s setting.
Reset and re‑setup steps
- If the keypad is unresponsive but Matter still works, locate the Matter factory‑reset guide and follow its instructions to erase the lock’s current configuration.
- To perform a complete reset via the Yale Access app, open the app, select the lock, and choose the factory‑reset option. Confirm when prompted.
- After the reset finishes, stay on the lock’s Bluetooth screen in the app for roughly five seconds.
- Immediately lock the door with the thumbturn, then unlock it the same way. This updates the activity log and corrects the clock.
- Re‑add the lock to your Matter network or Yale Access app, following the standard pairing steps, and re‑enter any user codes you need.
Once the lock is back in the app, double‑check that the time displayed matches your local time. If it does not, repeat the Bluetooth sync step; the lock will adopt the correct time from the app.
Should the lock still refuse to respond after these actions, the issue may be deeper than a simple reset. At that point, contacting Yale support for warranty service is the recommended next step.
Code entry, lockout and auto‑lock
When you type a code on a Yale lock, it must be between four and eight digits long. Each user needs their own unique code, and the lock only listens for about five seconds after the keypad lights up. After the numbers are entered, press the check key to confirm.
If the lock shows “Wrong number of digits,” it means the entry stopped early. Just type the full code again, making sure you hit every digit before pressing the check key.
Seeing “Invalid code” tells you the lock didn’t recognize the number you entered or the time ran out. Double‑check the digits, re‑enter the code quickly, and press the check key again.
Some households enable Lockout Mode to stop repeated bad attempts. If the lock stops responding because of this, open the Yale Access app, go to the user‑management menu, and turn Lockout Mode off. The lock will start accepting codes again.
Auto‑Lock is the feature that pulls the deadbolt shut after you close the door. To make sure it works, open the Yale Access app, tap Lock Settings, then choose Auto‑Lock and switch it on. When this setting is off, the lock will stay unlocked until you manually lock it.
There’s a separate Auto‑Re‑lock Mode that can be toggled from the lock’s own Advanced Settings. In the app, press 3 → Gear key, then 5 → Gear key to reach the menu, and enable Auto‑Re‑lock. If this option stays disabled, the lock will never engage automatically after you walk away.
- Enter a 4‑8 digit code, within five seconds, and press the check key.
- If “Wrong number of digits” appears, re‑enter the complete code.
- If “Invalid code” shows, verify the numbers and try again quickly.
- Turn off Lockout Mode in the Yale Access app if it’s blocking entry.
- Enable Auto‑Lock under Lock Settings → Auto‑Lock.
- Enable Auto‑Re‑lock via Advanced Settings (3 → Gear, then 5 → Gear).
Following these steps should restore smooth code entry, prevent accidental lockouts, and ensure the door secures itself automatically. If the lock still won’t accept codes after checking each point, it may be time to contact Yale support for further assistance.
Model‑specific tips and prevention
If you own a key‑free Yale model such as the YRD450 or YRD420, you can keep the lock working when the four AA cells run out. Slip a 9 V battery into the terminals beneath the keypad. This gives temporary power so you can still unlock the door while you get fresh AA batteries.
For owners of a Z‑Wave Assure Lock 2, a common issue after a battery swap is a mismatch in daylight‑saving‑time (DST) settings. Open the Yale Access app, go to the lock’s date‑and‑time section, and check that the DST option matches the current local setting. Fixing this often restores normal operation.
When it’s time to replace the batteries, change all four AA cells at once. Installing a full set of fresh alkaline batteries ensures the lock receives consistent voltage and reduces the chance of intermittent behavior.
After the batteries are in place, double‑check that the battery cover is fully sealed. A loose cover can let the internal ribbon contacts shift. While you’re securing the cover, look at the internal harness; make sure it isn’t pinched or pulled out of its slot. A properly seated harness is essential for power and communication.
Finally, give the strike plate a quick visual check every few months. If the deadbolt sticks, the plate may be misaligned. Loosen the mounting screws, bend the adjustment tab slightly toward the door surface, then retighten the screws. A smooth deadbolt movement prevents lock‑jam messages and keeps the lock’s auto‑re‑lock feature reliable.
- Insert a 9 V battery under the keypad on YRD450/YRD420 models for backup power.
- Open the Yale Access app, go to date‑and‑time settings, and confirm DST matches the local calendar for Z‑Wave Assure Lock 2.
- Remove the old AA cells and replace all four with new alkaline batteries in a single operation.
- Close the battery cover securely and verify the internal harness is fully connected and not pinched.
- Inspect the strike plate; if the deadbolt sticks, adjust the plate’s tab and retighten the screws.
Support and replacement guidance
If you have followed every troubleshooting step and the lock still does nothing, the warranty may apply. Yale’s warranty covers defects that arise from manufacturing, not wear from normal use.
Give Yale support a call or start a chat through their website. Explain that the unit is unresponsive after a fresh set of AA batteries and after checking the harness, polarity, and battery cover.
Support will ask you to confirm that the lock is not flashing a low‑battery warning or any other standard LED pattern. If the lock shows an unfamiliar error code or a persistent LED sequence that does not match the low‑battery indicator, let the technician know right away.
When the lock’s activity log no longer updates, the app cannot sync, or the keypad remains dead even after a factory reset, those are also signs that professional help is needed.
Sometimes a lock will keep failing after several battery changes. If you notice the deadbolt sticking, the latch not moving smoothly, or the exterior hardware showing signs of corrosion or cracks, it may be time to replace the unit.
Repeated non‑response can also point to an internal component that has worn out. In those cases, trying the same troubleshooting steps over and over will not bring the lock back to life.
Before you decide on a new lock, think about the features you use most. If you like entering a code on a keypad, a smart deadbolt with a keypad will feel familiar.
If you prefer a key‑free experience, look for a model that lets you unlock with a smartphone, voice assistant, or a temporary virtual key.
For homes that already use a Z‑Wave hub, a Z‑Wave compatible deadbolt will integrate smoothly and let you control the lock alongside other smart devices.
- Keypad smart deadbolt, classic numeric entry with app backup.
- Key‑free smart lock, phone or voice control, no keypad needed.
- Z‑Wave compatible deadbolt, works with existing Z‑Wave home automation.
When you order a replacement, buy from a reputable retailer that ships to the United States, such as Amazon.com. Keep the original packaging and receipts in case you need to file a warranty claim on the new unit.
Finally, once the new lock is installed, run the initial calibration steps in the Yale Access app. Verify the door‑frame hole meets the required dimensions and test the auto‑lock feature to avoid the same frustrations you experienced with the previous lock.
When It’s Time to Replace It
If you have checked battery polarity, made sure the internal harness is tight, and the keypad still does not respond, the lock likely has a deeper hardware problem. A lock that remains silent after installing fresh AA cells and securing the battery cover usually cannot be repaired easily.
If the lock continues to display a “Low Battery” warning with new alkaline cells, or the gear key stays amber for several minutes, it points to a firmware or internal component fault that a reset will not resolve. In that case, replacing the unit is the most dependable choice.
Before purchasing a new smart deadbolt, verify that the model matches your door thickness and that the backset aligns with the existing hardware. Most Yale deadbolts need a 1-inch deep and wide door‑frame hole for correct installation.
Choose a replacement that runs on four AA alkaline batteries so you can continue using the same power source. This also simplifies swapping spare cells.
Make sure the new lock supports the auto‑lock feature in the Yale Access app if you use automatic locking. The app lets you turn the function on or off after installation.
If you want a keypad‑free setup, a key‑free smart lock may suit you. These models let you place a 9 V backup battery under the keypad when the main AA cells are depleted, adding an extra safety layer.
Confirm that the key‑free lock you select lists the 9 V backup option in its specifications, so you won’t be caught off guard.
If your home already uses a Z‑Wave hub, a Z‑Wave compatible deadbolt will connect with your existing automation. Verify that the lock’s DST settings can be changed in the app to prevent timing issues.
Select a Z‑Wave model that states full support for the Yale Access app and provides clear instructions for linking to your hub.
Finally, check the warranty coverage. Yale provides a warranty for manufacturing defects, so a new unit with a valid warranty gives you assurance if another problem occurs.
Check current keypad smart deadbolt options on Amazon
Check current key‑free smart lock options on Amazon
Check current Z‑Wave compatible deadbolt options on Amazon
Related Smart Lock Guides
- Why Won’t My Smart Lock Connect to WiFi? How to Fix It (2026)
- Yale Linus L2 Lite Review: The £130 Matter Smart Lock, Rated
- Best Smart Lock Without WiFi 2026: 5 Offline Picks I Trust
- Best Smart Locks With No Monthly Fee (2026 Buyer’s Guide)
- Smart Lock vs Traditional Deadbolt: Which Do You Need? (2026)
Yale Lock Not Working After Battery Change: Frequently Asked Questions
Why does my Yale lock not work after I change the batteries?
Most problems come from power or connection issues. If the new AA cells are installed backward, dead, or not fresh, the lock will stay silent. A loose internal harness or a battery cover that isn’t fully closed can also stop communication. After a battery swap the lock may need to be (re)handed, and a firmware‑update mode can keep it from responding for a few minutes.
How can I tell if the batteries are installed with the wrong polarity?
The lock will simply not react at all when the polarity is reversed. Test the keypad; if no numbers register, open the battery case and compare the plus and minus symbols on the battery contacts with the markings on the cells. Correct the orientation and reinstall the batteries.
What does a flashing amber gear key mean on my Yale lock?
A flashing amber gear key signals that the lock is in firmware‑update mode. Leave the batteries in place and wait roughly five minutes. The lock will finish updating, stop flashing, and reboot automatically. Removing the batteries during this time will interrupt the process.
How do I reset my Yale lock when the keypad is dead?
If the keypad no longer lights up or registers presses, perform a factory reset. Follow the reset steps in the “Factory Reset your Yale Smart Lock with Matter” guide, then reinstall the lock through the Yale Access app. This restores communication and lets you set up the lock again.
When should I replace my Yale smart lock instead of repairing it?
After you have verified fresh batteries, correct polarity, a secure harness, and completed a factory reset, the lock should work. If it remains unresponsive, shows persistent error messages, or has mechanical damage, contact Yale support. When the device is out of warranty or the manufacturer advises replacement, it’s time to install a new lock.