Yale keypad not lighting up (quick answer): If the Yale keypad is dark, first check that the four AA batteries are installed with correct polarity and not discharged (,). Ensure the battery cable and internal harness are securely connected (,). Press the Yale logo button to wake the keypad; if it still won’t light, replace the batteries and perform a reset as described ().
The first thing to try when a Yale Assure Lock 2 keypad stays dark is to check the power source. The lock uses four alkaline batteries; replace all four at once when a low-battery warning appears. Make sure the batteries are installed with the correct polarity in the battery case.
Next, verify that the battery cable is fully connected to the PCB and that the wire harness is firmly attached. A loose connection can prevent the keypad from receiving power and keep the LEDs off.
If fresh, correctly installed batteries and a secure cable do not revive the lights, a quick reset often does the trick. Remove the batteries, re-insert them, and press the Yale logo button until the LEDs begin blinking white. That white-blinking sequence indicates the keypad is ready for pairing again and usually restores normal LED operation.
These steps address the most common reasons a Yale keypad won’t light up. If the problem persists after battery replacement, cable verification, and a reset, the lock’s warranty covers manufacturing defects, and you should contact Yale support for repair or replacement.
Why Won't My Yale Keypad Light Up?
When the keypad stays dark and silent, the lock feels dead. If the keypad does not light up, first press each button to see if any response occurs; a non-responsive keypad usually means the lock is not receiving power or the button contacts are faulty. This symptom points to a loss of power or a communication snag.
Dead or reversed batteries are the most common cause. The Yale Assure Lock 2 uses four AA alkaline batteries; they must be installed with the correct polarity. If the batteries are discharged or installed backward, the keypad will not light up.
Loose battery cable or internal harness can also block power. The battery cable must be fully connected to the PCB, and the internal wire harness must be firmly attached. A pinched or loose harness stops electricity from reaching the keypad.
The keypad may be asleep. Both touchscreen and push-button models only activate when you press the Yale logo button. If you haven’t pressed that button, the LEDs stay off and the unit appears unresponsive.
Complete power loss shows up as no sound and no LED activity. When the lock’s four batteries are fully drained, the keypad becomes silent and dark. Replacing all four batteries restores power and you should reset the real-time clock via the app afterward.
Low-battery warning appears as intermittent red flashes on the keypad. This red flash signals that the batteries need immediate replacement.
Communication error is indicated by the LEDs flashing red three times. This pattern means the keypad cannot talk to the lock, often because the batteries are weak or the keypad is out of the 8 ft range.
| LED Color / Pattern | Meaning |
|---|---|
| White blinking | Setup mode; keypad is awake and ready to pair. |
| Yellow flash + beep | Entered code is wrong. |
| Red flash (single) | Low-battery indicator active. |
| Red flash three times | Communication error; check battery health and distance. |
By checking each of these areas, battery condition and orientation, cable connections, pressing the Yale logo button, and interpreting LED patterns, you can often bring the keypad back to life without a service call.
How Can I Quickly Fix a Dark Yale Keypad?
When the Yale keypad stays dark, the problem is usually power-related. Follow these five quick checks before calling support.
-
Confirm that four AA alkaline batteries are seated with the correct polarity. The Yale Assure Lock 2 uses four AA alkaline batteries, and a low-battery alert will dim or turn off the LEDs. Replace all four batteries if any are discharged or missing.
-
Press each keypad button to see if any response occurs. A non-responsive keypad often means the lock is not receiving power. If nothing happens, verify that the battery cable is fully connected to the PCB and that the wire harness is firmly attached.
-
Wake the keypad by pressing the Yale logo button. The keypad only activates when that logo button is pressed on both touchscreen and push-button models. Once awake, the LEDs should blink white, indicating the unit is ready for input.
-
Reboot the lock by removing one battery for a few seconds, then reinstalling it. This brief power cycle can clear temporary glitches that keep the keypad dark. After the battery is replaced, try a code again.
-
Perform a soft reset if the keypad still won’t light. Remove all batteries, re-insert them, and press the Yale logo button until the LEDs start blinking white. The white-blinking sequence signals the keypad is in Setup Mode and ready to pair.
If the keypad remains dark after these steps, the warranty covers manufacturing defects. Contact Yale support for repair or replacement.
What Does a Dim or No LED Indicate on My Yale Lock?
If the front-panel LEDs look dim, the lock is warning you that the battery charge is low. The Yale Assure Lock 2 uses four AA alkaline batteries; replace all four at once when you see dim lighting. This restores full brightness and normal operation.
When the keypad shows no LED at all and you hear no click or tone, the batteries are fully drained. Swap the four AA cells for fresh ones, then open the Yale Access app and reset the real-time clock. The clock reset is required because removing all power clears the lock’s internal time.
Occasional red flashes from the LED are a low-battery alert. The flashes appear intermittently, indicating the remaining charge is insufficient for reliable use. Replace all four batteries immediately to avoid lockout.
Below is a quick reference that matches LED behavior to the likely cause and the corrective action.
| LED indication | What it means | Fix |
|---|---|---|
| Dim lighting | Battery voltage is low | Replace all four AA alkaline batteries (Yale Assure Lock 2) |
| No LED and no sound | Complete battery discharge | Insert fresh batteries, then reset the lock’s clock via the app |
| Intermittent red flashes | Low-battery warning active | Replace all four batteries immediately |
After any battery change, press each keypad button once to confirm the lock is receiving power. If the LEDs light brightly and the keypad responds, the issue is resolved. If the lock still shows dim LEDs or remains dark, double-check that the batteries are installed with the correct polarity and that the battery cable is securely attached to the PCB.
Should the problem persist after verifying power connections and installing fresh batteries, the lock’s warranty covers manufacturing defects. Contact Yale support for repair or replacement.
How Do I Reset or Reboot My Yale Keypad?
When the Yale keypad stays dark, a quick reset often brings it back to life. The first method is a soft reset that clears any temporary glitch without erasing your codes.
- Take out the two AA batteries from the keypad.
- Wait a moment, then place the batteries back in.
- Press the Yale logo button repeatedly until the LEDs start blinking white.
This sequence tells the keypad to restart its internal processor. The white-blinking LEDs mean the device is in Setup Mode and ready for normal operation.
If a soft reset does not fix the problem, you can perform a factory reset through the Yale Access app. This clears all stored settings and returns the keypad to its original state.
- Open the Yale Access app on your phone.
- Tap the gear icon (⚙) to open Settings.
- Select Keypad Settings, then choose Reset.
- Confirm the reset when prompted.
- The keypad’s LEDs will begin blinking white, indicating it is ready to be paired again.
After a factory reset, you will need to re-pair the keypad using the app’s “Set up a device” option.
Sometimes the lock itself needs a simple reboot, especially if the keypad appears powered but does not respond. Rebooting the lock is easy:
- Remove one of the four AA alkaline batteries from the lock’s battery compartment.
- Leave the battery out for a few seconds.
- Re-insert the battery and close the compartment.
- Try the keypad again; the lock should now accept commands.
| LED Indicator | Meaning |
|---|---|
| White blink | Setup or reset mode, keypad ready to pair. |
| Yellow flash + beep | Entered code is incorrect. |
| Red flash ×3 | Keypad cannot communicate with the lock. |
Remember that the keypad uses two AA batteries, while the lock itself relies on four AA alkaline batteries. Always install the batteries with the correct polarity before testing any reset.
If none of these steps restore LED activity, the keypad may have a hardware fault. The warranty covers manufacturing defects, so contacting Yale support for repair or replacement
Which Yale Lock Models Use This Keypad?
Yale’s keypad works with a small group of lock models. The facts only mention the Yale Assure Lock 2 family (including the YRD450 and YRD420 key-free versions) and the Smart Keypad 2. Those are the only combinations we can confirm.
The Assure Lock 2 is a battery-powered deadbolt that runs on four AA alkaline cells. The YRD450 and YRD420 variants are sold without a traditional key cylinder, so they are truly key-free. All Yale Assure Lock 2 models use four AA alkaline batteries.
Smart Keypad 2 is the wireless keypad accessory. It draws power from two AA batteries, not from the lock’s battery pack. The keypad must have fresh batteries before any LED activity can be expected.
Because the source material does not describe any other Yale lock families, we cannot provide battery or keypad details for them. If you own one of those models, you will need to consult the specific manual or contact Yale support.
| Model Name | Battery Type | Key-Free? | Fact Coverage |
|---|---|---|---|
| Yale Assure Lock 2 (standard) | Four AA alkaline | Not specified | Battery type and lock family confirmed |
| Yale Assure Lock 2, YRD450 | Four AA alkaline | Yes | Key-free status and battery type confirmed |
| Yale Assure Lock 2, YRD420 | Four AA alkaline | Yes | Key-free status and battery type confirmed |
| Smart Keypad 2 | Two AA | N/A (accessory) | Battery type confirmed |
| Yale Assure Lock (original) | Not detailed | Not detailed | Not covered by facts |
| Yale Assure Lock SL | Not detailed | Not detailed | Not covered by facts |
| Nest × Yale | Not detailed | Not detailed | Not covered by facts |
| Yale Linus | Not detailed | Not detailed | Not covered by facts |
| Conexis L1 / L2 | Not detailed | Not detailed | Not covered by facts |
| Keyless Connected | Not detailed | Not detailed | Not covered by facts |
If you have one of the listed models and the keypad still won’t light up after checking batteries and connections, the warranty covers manufacturing defects. Contact Yale support for repair or replacement.
What Are the LED, Beep, and Error Code Meanings?
When the Yale Assure Lock 2 keypad isn’t lighting up, the pattern of LEDs and any beep give clues about what’s wrong. Knowing each signal helps you decide whether a quick battery swap, a reset, or a support call is needed.
The lock uses a small set of standard signals. A steady white blink means the keypad is ready to be set up or reset. A yellow flash paired with a beep tells you the entered code didn’t match any stored code. Three rapid red flashes indicate the keypad can’t talk to the lock. An intermittent red flash warns that the batteries are low. Finally, no LED at all and silence usually means the batteries are completely dead.
| LED / Beep | Meaning | Explanation |
|---|---|---|
| White blinking | Setup / Reset mode | The keypad is awake and waiting to be paired or reset. Press the Yale logo button to start the process. |
| Yellow flash + beep | Wrong code entered | The lock received a code that does not match any stored user code, so it alerts you with a flash and a sound. |
| Red flash three times | Communication error | The keypad cannot establish a link with the lock, often because of a loose harness or out-of-range placement. |
| Intermittent red flash | Low-battery warning | The lock has detected that one or more of the four AA batteries are running low and needs replacement. |
| No LED / no sound | Complete battery discharge | All four batteries are exhausted, so the keypad has no power to light LEDs or emit beeps. |
If you see a white blink, follow the pairing steps in the Yale Access app. A yellow flash means you should re-enter the correct 4-to-8 digit code within five seconds of activation. When three red flashes appear, check that the battery cable and internal harness are firmly connected before trying again.
Low-battery warnings should be addressed immediately by swapping all four AA alkaline batteries. After replacement, verify the lock’s date and time to avoid timing-related glitches.
When there is no LED activity or sound, replace the batteries, then press the Yale logo button until the white blinking sequence returns. If the keypad still refuses to light after these steps, the warranty covers manufacturing defects, and you should contact Yale support for repair or replacement.
How Can I Prevent My Yale Keypad From Going Dark?
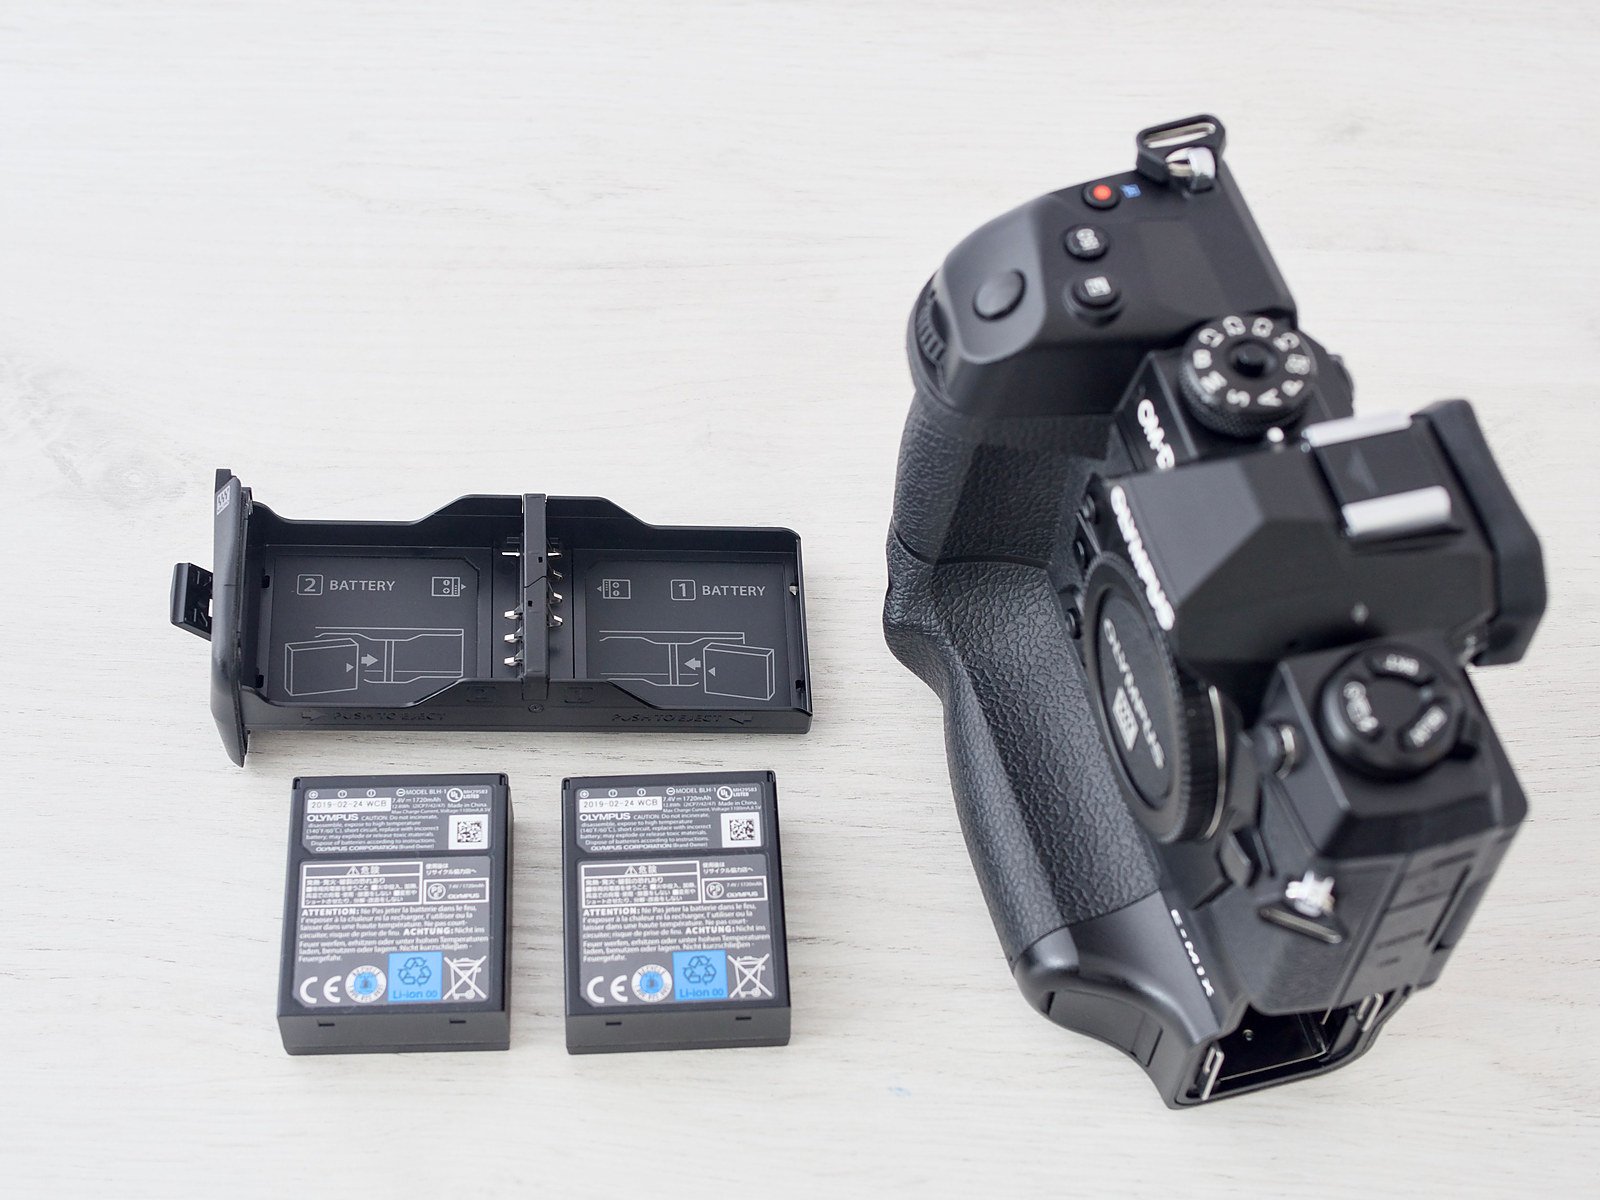
Check often that the four AA alkaline cells are placed with the proper polarity. The Yale Assure Lock 2 runs on four alkaline batteries, and a low-battery warning indicates that all four need to be replaced together.
Swap the batteries all at once. Changing just one cell can reset the lock’s clock, which might cause timing glitches later.
Look over the battery lead and the internal wire harness each time you change batteries. A loose or pinched link can prevent power from reaching the keypad, so verify the cable is fully seated on the PCB and the harness isn’t caught.
Only take out the batteries when the lock actually requires it. Repeated removal will reset the clock.
| Component | Battery Type | Quantity |
|---|---|---|
| Yale Assure Lock 2 (including YRD450/YRD420 key-free models) | Alkaline AA | 4 |
| Smart Keypad 2 | Alkaline AA | 2 |
Make sure the keypad’s internal harness has no pinches or sharp bends. The battery lead and the harness should be securely connected to the lock’s PCB for consistent LED function.
Upgrade the keypad firmware to version 1.0.12 using the Yale Access app to fix rapid battery drain.
After each battery change, check that the lock’s date and time are correct in the app. A correct clock avoids timing problems that could make the keypad seem unresponsive.
If the lock is still under warranty and the keypad stays dark after these steps, reach out to Yale support. Manufacturing defects are covered, and they can arrange repair or replacement.
When Should I Contact Yale Support for a Non‑Lighting Keypad?
The Yale Assure Lock 2 (including YRD450/YRD420 key-free variants) comes with a warranty that covers manufacturing defects. If the keypad never lights up because of a defect that occurred during production, Yale will repair or replace the unit.
Before you call support, run through the basic fixes that the warranty does not exclude. These steps address the most common reasons a keypad stays dark.
- Remove the four AA alkaline batteries, wait a few seconds, then reinstall them with the correct polarity.
- Make sure the battery cable is fully connected to the PCB and that the internal wire harness is firmly attached.
- Perform a keypad reset: remove the batteries, re-insert them, and press the Yale logo button until the LEDs start blinking white.
- After the batteries are back in place, open the Yale Access app and verify that the lock’s date and time are correct. An inaccurate clock can make the keypad appear unresponsive.
If the keypad still shows no LED activity after you have replaced the batteries, checked the cable, and completed the reset, it is time to reach out to Yale support. The warranty states that “the lock’s warranty covers manufacturing defects; if the keypad remains non-functional after following these steps, contact manufacturer support for repair or replacement.”
When you contact support, be ready to share the model name and a brief summary of the troubleshooting you performed. Yale’s support team can confirm whether the issue is covered under the warranty or if another service option is needed.
| Warranty Aspect | Coverage |
|---|---|
| Manufacturing defects | Repair or replacement by Yale |
| Battery-related failures | Replace four AA alkaline batteries |
| Loose cable or harness | User-level fix |
Remember that the lock’s date and time reset after a battery change, so confirming the correct settings in the app is an essential final check.
If all of the above steps leave the keypad dark, the issue is likely a defect that falls under Yale’s warranty. Contact Yale support promptly to avoid unnecessary downtime and to take advantage of the warranty protection.
What Should I Check First When My Yale Keypad Won’t Light?
If the Yale keypad stays dark, start with the basics. Confirm that the lock is receiving power.
- Check battery polarity and replace if needed. Make sure the four AA alkaline batteries are seated with the correct polarity in the battery case. If the batteries are discharged, low, or missing, swap them out for fresh ones. The lock will also dim or turn off when a “Low Battery” alert appears, so a replacement is required.
- Press the Yale logo button to wake the keypad. The keypad only becomes active after the Yale logo button is pressed on both touchscreen and push-button models. If the unit has entered sleep mode, this press will cause the LEDs to start blinking white, indicating it is awake.
- Inspect the battery cable and internal harness. Verify that the battery cable is fully connected to the PCB and that the internal wire harness is firmly attached. A loose connection can stop power from reaching the keypad, leaving it unlit.
- Test each keypad button for any response. Press every button to see if any feedback occurs. A completely non-responsive keypad usually means the lock is not receiving power or the button contacts are faulty.
- Perform a soft reset if the keypad remains dark. Remove the batteries, re-insert them, and press the Yale logo button until the LEDs begin blinking white. This sequence resets the keypad and prepares it for pairing again.
After completing these steps, try entering a valid 4-to-8 digit code within five seconds of activation. If the keypad still shows no LED activity, the issue may be a defect covered by Yale’s warranty. Contact Yale support for repair or replacement.
When It’s Time to Replace It
If the keypad still shows no LED activity after battery swap, connection check, and reset steps, the lock’s warranty covers manufacturing defects; contact manufacturer support. Yale’s warranty covers manufacturing faults, so a replacement is the sensible next move.
When shopping for a new keypad smart deadbolt, verify that it supports the 4-to-8 digit code range. Look for a model that uses four AA alkaline batteries, matching the power setup of the Yale Assure Lock 2.
Check current keypad smart deadbolt options on Amazon
A battery-powered smart lock should also run on four AA alkaline cells. Confirm that the lock offers an Auto-Lock feature you can enable in the app, and that it accepts unique user codes set by a master code.
Check current battery-powered smart lock options on Amazon
For a wireless entry keypad, choose a device that uses two AA batteries and displays the same LED signals: white blink for pairing, yellow flash + beep for wrong code, and red flash three times for communication errors. The keypad can be paired using the Yale Access app.
Check current wireless entry keypad options on Amazon
Related Smart Home Guides
- Yale Lock Keeps Beeping: Easy Fix Guide (2026)
- Yale Lock Code Not Working: Easy Fix Guide (2026)
- Yale Lock Not Working After Battery Change: Easy Fix (2026)
- Yale Linus L2 Lite Review: The £130 Matter Smart Lock, Rated
- Best Solar-Powered Smart Locks in 2026: 4 Deadbolts That Charge Themselves
Yale Keypad Not Lighting Up: Frequently Asked Questions
Why is my Yale lock battery dead and how can I open the door?
Replace all four fresh AA cells; the lock will power up.
How do I open a Yale lock when the battery is dead and I have no key?
Swap the dead AA pack for four fresh alkaline batteries; the lock will regain power. If the unit is a key-free YRD450 or YRD420, you can temporarily attach a 9 V battery to the terminals below the keypad for emergency access.
What does a flashing red light on a Yale lock mean?
A red LED flashing three times indicates the keypad isn’t communicating with the lock. Ensure the keypad is within eight feet of the lock and the lock’s batteries are fresh.
Why does my Yale keypad show a low-battery warning?
Replace all four batteries at once; the lock will clear the warning and the LEDs will return to normal brightness.
How can I use a 9V battery to power a Yale keypad in an emergency?
For Yale’s key-free models (YRD450/YRD420) you can attach a 9 V battery to the two terminals located beneath the keypad; this supplies temporary power long enough to enter a code and unlock the door when the AA pack is completely dead.
How we researched this: This guide is based on official manufacturer manuals and support documentation, rewritten in plain English and organized by symptom. Where noted, we also share our own hands-on experience. Steps can differ by model and firmware, so check your model number first.
As an Amazon Associate, TechVibeSpot earns from qualifying purchases.