Swapping a plain deadbolt for a smart lock is one of the few home upgrades you can finish before your coffee gets cold. If you can use a screwdriver, you can do this – there is rarely any drilling, because a smart deadbolt uses the hole your current lock already sits in. This guide walks the whole job end to end: measuring your door, choosing between a retrofit and a full replacement, the installation itself, and the small calibration tricks that stop a new lock from jamming. Written for August 2026 hardware, but the process applies to almost every smart deadbolt.
How we assess: this guide is based on manufacturer documentation, official setup instructions, and verified owner reports.
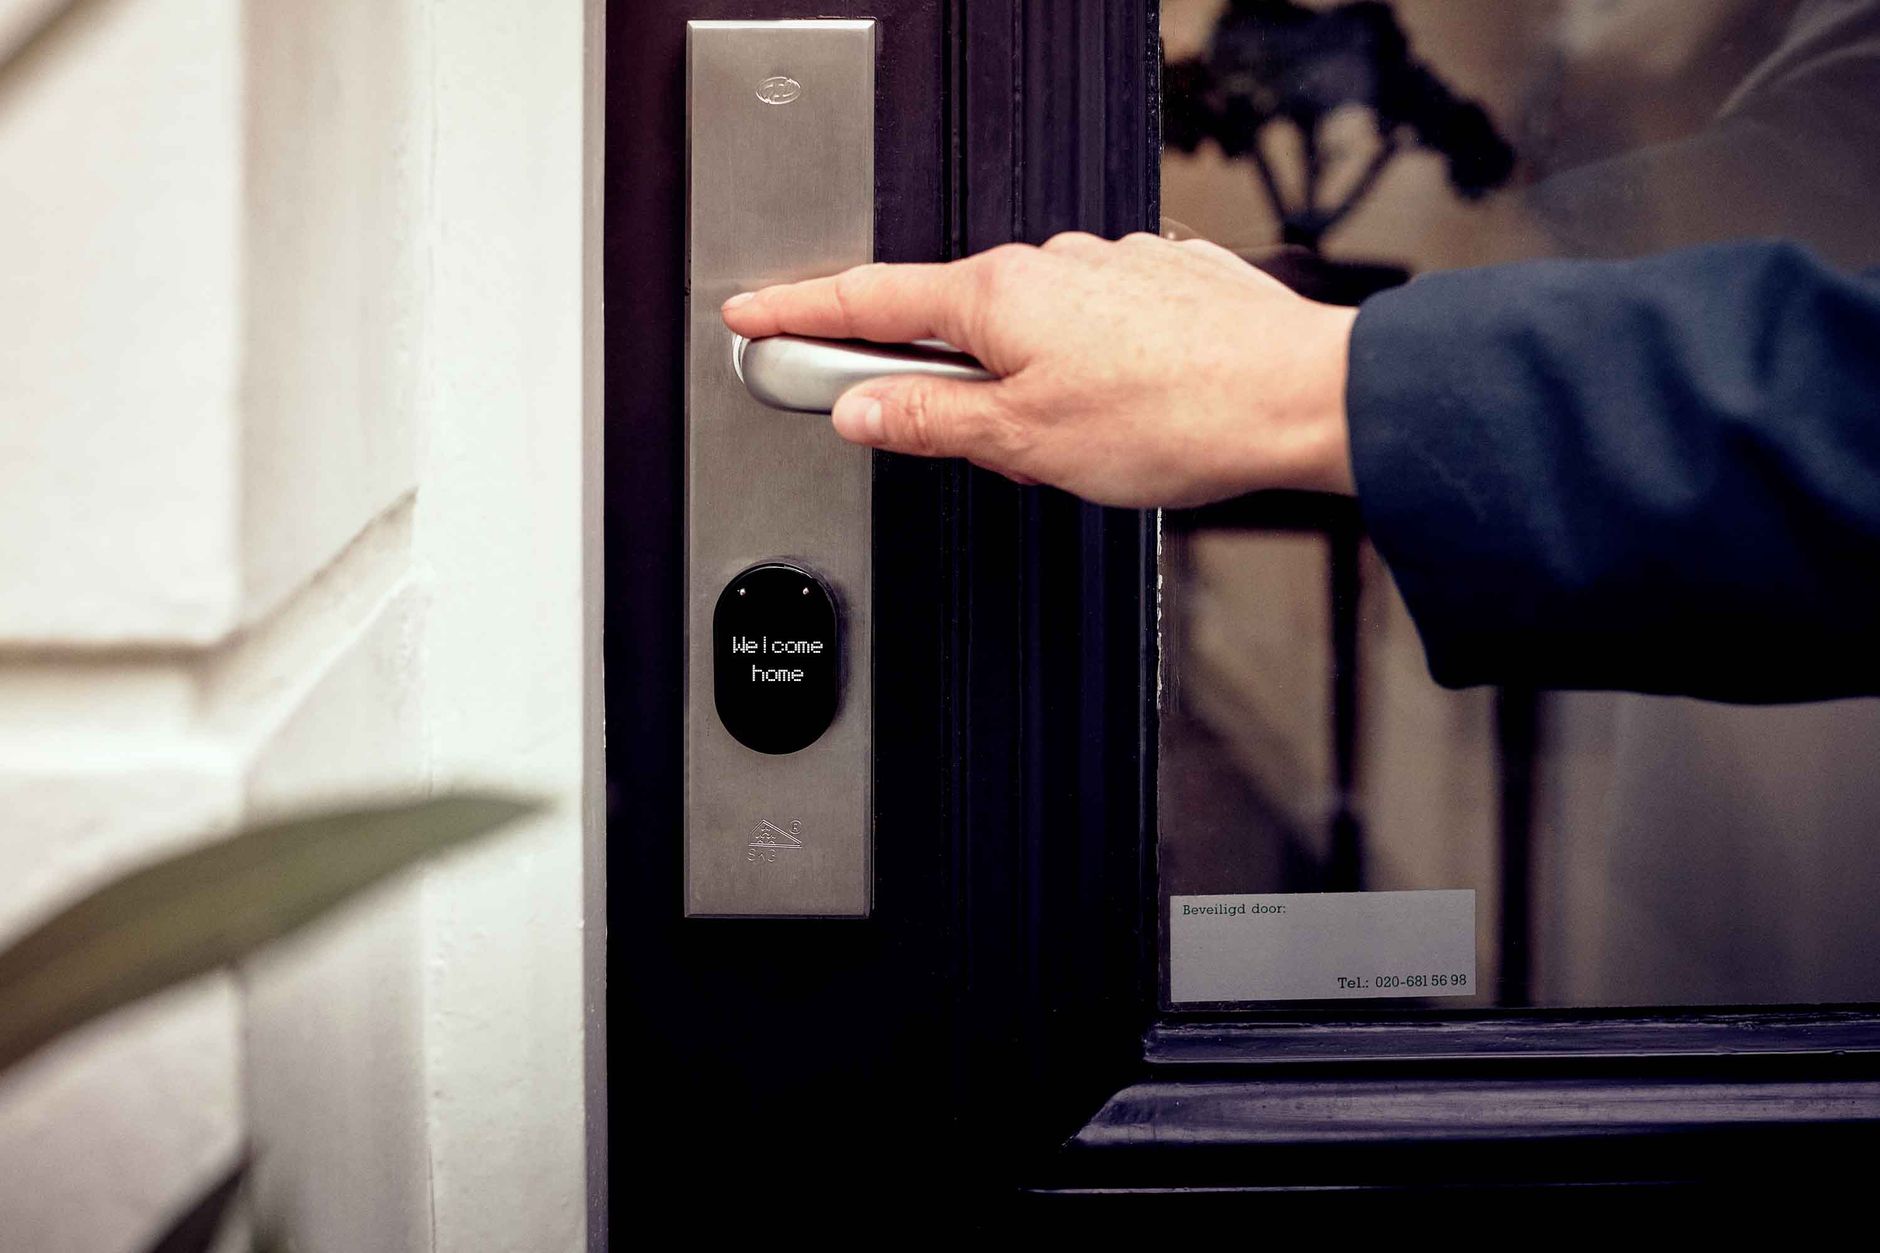
How do you install a smart lock? Remove your old deadbolt (two screws), fit the new latch into the door edge with the bolt retracted, mount the exterior keypad or cylinder, attach the interior body, add batteries, then run the app’s calibration with the door open. On a standard door it takes 20-30 minutes with a screwdriver.
What you’ll need before you start
The job needs almost nothing. Have a Phillips screwdriver, the batteries that came with the lock, your phone with the lock’s app installed and Bluetooth on, and optionally a small level and tape measure. Because a smart deadbolt reuses your existing deadbolt hole, there is no drilling on a standard door.
Measure your door so the lock actually fits
Fit is the most common and most avoidable mistake. Confirm these four measurements before you buy or begin. Nearly every lock ships with an adjustable latch that handles both common backsets.
| Measurement | Typical range | Why it matters |
|---|---|---|
| Door thickness | 1-3/8 to 1-3/4 in (35-45 mm) | Lock must clamp firmly; too thin/thick won’t seat |
| Backset | 2-3/8 in or 2-3/4 in | Distance edge to bore centre; latch is usually adjustable |
| Cross-bore | 2-1/8 in (54 mm) | The big round hole the lock body passes through |
| Latch bore | 1 in (25 mm) | The hole in the door edge for the latch |
Retrofit or full replacement?
This choice shapes the whole install. A retrofit keeps your existing deadbolt and keys and only swaps the interior thumbturn – fastest, and ideal for renters. A full replacement swaps the entire lock for a keypad or fingerprint model. Neither is harder for a standard door; pick on whether you want to keep your keys and exterior hardware.
| Retrofit (e.g. August) | Full replacement deadbolt | |
|---|---|---|
| Keeps your keys | Yes | No (new keys included) |
| Exterior look changes | No | Yes |
| Best for | Renters, keeping current keyway | Keypad/fingerprint, a fresh look |
| Install effort | Lowest (interior only) | Moderate (both sides) |
| Reversible | Fully | Yes, but more work |
Remove your old deadbolt
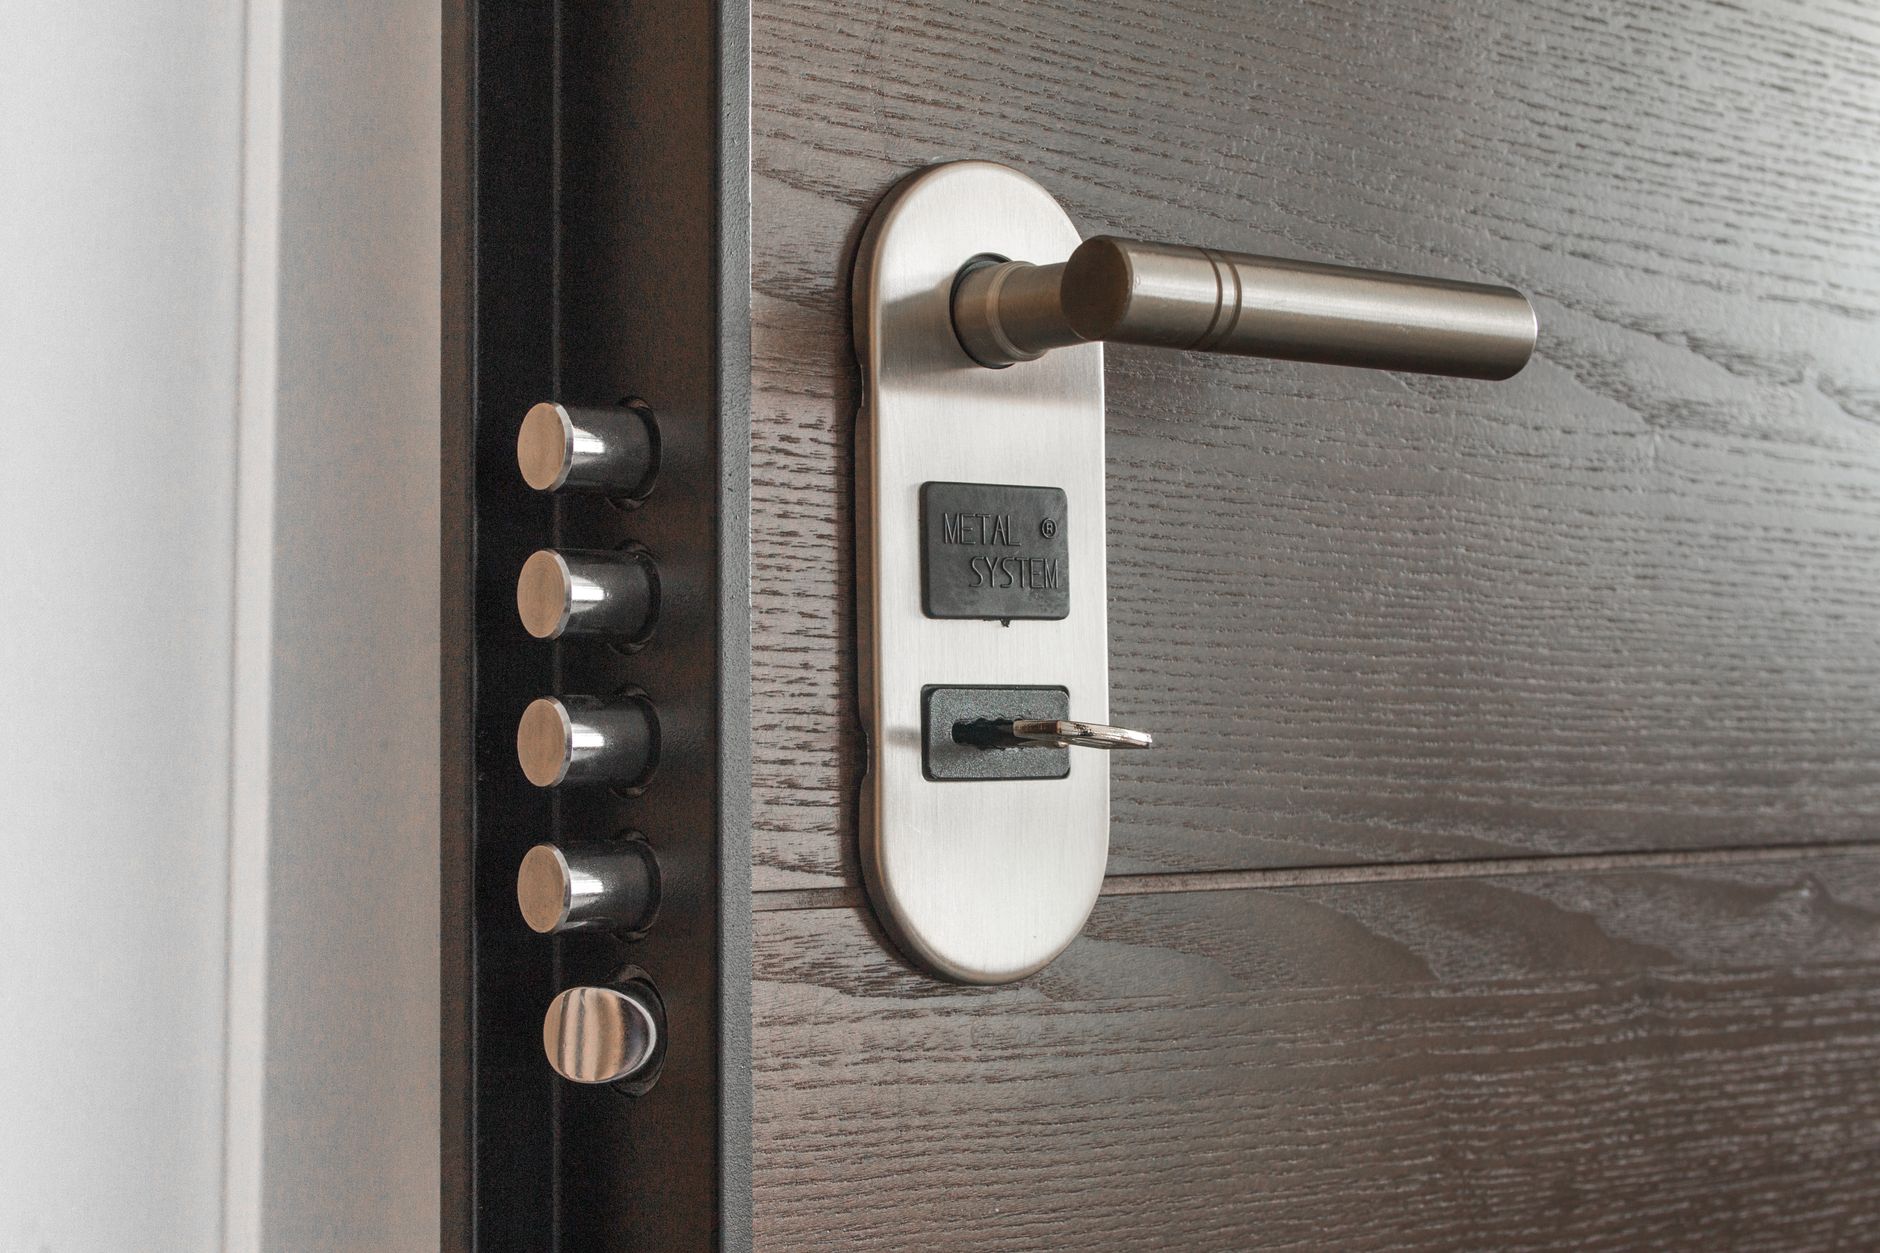
Unscrew the two screws on the interior side of your current deadbolt and pull both halves off the door. Remove the two screws holding the latch plate in the door edge and slide the latch out. Keep the screws in a cup. The door now has an empty bore ready for the new hardware.
Fit the latch and mount the lock
Fit the latch first, with the bolt retracted – set the backset to match your door, slide it into the edge, and screw the faceplate. A latch installed while extended is the number-one cause of a lock that will not turn later. Then feed the exterior half through the bore, hold it level, seat the interior mounting plate over the posts, and tighten the screws evenly, alternating side to side so it sits flush. Clip on the interior body until it clicks. Snug is enough – overtightening warps the alignment.
Add batteries, pair, and calibrate
Install the batteries; the lock lights up or beeps. Open the app, create an account, and pair over Bluetooth. The critical step is calibration: the app has you lock and unlock the bolt so the motor learns the exact end positions. Do it with the door open so a misread cannot lock you out, then test a dozen times open and a few times closed. Connect Wi-Fi or a hub now if you want remote control and alerts.
Troubleshooting a fresh install
If something is off, it is almost always alignment. Match the symptom to the fix:
| Symptom after install | Cause | Fix |
|---|---|---|
| Bolt won’t extend/retract | Latch installed while extended | Retract bolt, refit latch |
| Motor strains or jams | Mounting screws too tight / misaligned | Loosen, let it self-centre, recalibrate |
| Bolt misses the frame hole | Strike plate misaligned | Adjust strike; enlarge slightly if needed |
| Won’t calibrate | Interior body not seated flush | Reseat on the mounting plate, retry |
When to call a professional
Call a locksmith only if your door has no existing deadbolt bore and needs drilling, it is metal or fiberglass with an odd core, the thickness falls outside the lock’s range, or you are fitting a mortise-style lock. For a standard wood or composite door with an existing deadbolt – the vast majority of homes – this is a confident do-it-yourself job. If you are still choosing a lock, our smart lock buying guide covers what to look for.
- Installation takes 20-30 minutes with just a screwdriver.
- Confirm 4 measurements first: thickness, backset, cross-bore, latch bore.
- Retrofit keeps your keys; full deadbolts add keypads and fingerprint.
- Fit the latch with the bolt retracted; calibrate with the door open.
- A jam almost always means strike-plate or seating misalignment.
FAQ
Do I need a locksmith to install a smart lock?
No. Most retrofit and full smart deadbolts fit a standard pre-drilled door with only a screwdriver in 20-30 minutes. You only need a locksmith if the door has no existing deadbolt bore, an unusual thickness, or a metal frame that needs drilling.
Will a smart lock fit my door?
It fits if your door has a standard deadbolt cutout, is roughly 1-3/8 to 1-3/4 inches thick, and has a backset of 2-3/8 or 2-3/4 inches. Measure these before buying; most locks include an adjustable latch for both backsets.
Can I keep my existing keys?
With a retrofit lock like August, yes – it mounts over your interior thumbturn and keeps your original exterior cylinder and keys. A full replacement deadbolt swaps the whole lock, but almost all still include physical backup keys.
What tools do I need?
Usually just a Phillips screwdriver; some locks include their own tool. A small level and the included batteries make it smoother. No power tools are needed for a standard door with an existing deadbolt.
How long does installation take?
On a standard door, 20-30 minutes: a few minutes to remove the old deadbolt, ten to fit the new hardware, and a few more to pair and calibrate in the app. First-timers should allow up to 45 minutes.
Why won’t my new lock turn after installing?
Nine times out of ten the latch was installed with the bolt extended, or the interior body is not seated flush. Retract the bolt, loosen and re-seat the assembly level, then run the app’s calibration with the door open.
Do smart locks work with any door?
They work with the vast majority of standard exterior wood, composite, and fiberglass doors that have a normal deadbolt bore. Mortise locks, very thick or metal doors, and glass doors may need adapters or a locksmith.
Should I calibrate with the door open or closed?
Always calibrate with the door open. The lock learns its fully-locked and fully-unlocked positions during calibration, and doing it open means a misread can never accidentally lock you out.
Sources
Compiled from manufacturer installation documentation and verified owner reports. Checked August 19, 2026.
Last updated: August 2026.
Naveen Kumar Durai is the founder of Naveen AI Automation and the editor of TechVibeSpot. He writes practical smart-lock and home-security guides from manufacturer documentation, official setup instructions, and verified owner reports.